
In the sea otter family, there are a couple of different types of sea otters. The most commonly known type is the Red Sea Otter which is also the largest of the species. There are others too, but they grow to less than 6 inches in length and live around coastal areas. Some of the other forms include the Blue, Yellow, and White sea otter, the Southern Sea Otter, and the Desert Otter.
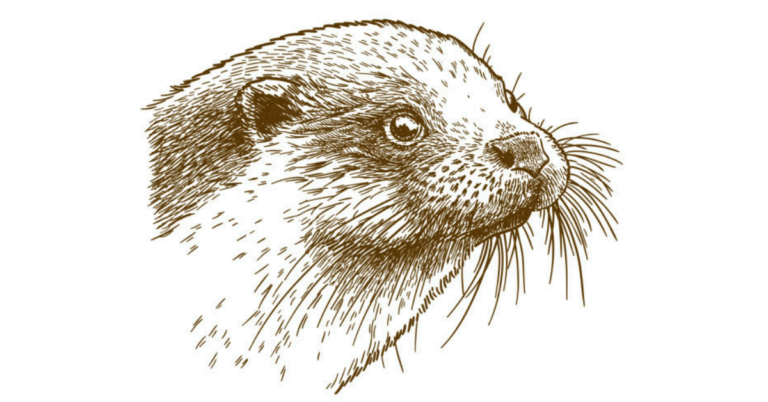
If you want to learn how to draw this type of animal, you will need a tutorial on how to draw sea otter sketches. This is a very fun animal to draw because they have such a unique look to them. This animal also has some of the best features among all of the otters that can be found in nature. If you have never seen one before, an otter sketch can be a great introduction to this fascinating animal.
To start, you should choose some important parts of the body so that you can study the proportions of the body. The head, neck, shoulders, legs, tail, and chest are all important to observe as you create the otter sketch. You will also need to draw all of the vital organs such as the eyes, nose, ears, and throat.
The first thing to do is to make the body as broad as possible. The upper body should be as long as the lower half, and the face should be a minimum of an inch longer than the eyes. The face should be wide, and the nose and mouth should be clearly visible. You can also add some wrinkles around the face and along the hairline if you wish.
To begin drawing the face, you should hold a piece of bright paper square in the middle of your chosen body part. Then draw a square on the upper right-hand corner of the square where the eyes should appear, and add a stroke downwards to the lower right-hand corner of the otter sketch. You should also draw one vertical line down the bridge of the nose, a second one at the edge of the eye, and another one inside the mouth.
Next, you should draw a deep nose, curved up as it follows the curve of the nose. A thin line should be drawn below the nostrils and a straight line beneath the tip of the nose. A straight line is also necessary for the chin, and a small amount of black should be added to it. You should also add a straight line inside the mouth, inside the cheeks, and a darker line inside the mouth itself.
Next, you should draw each bone in the body, from head to toe. You should start with the head, and then move to the neck, to the ears, and so on. You should also draw a line inside each ear to indicate the ear’s position. The eyes, forehead, and lips are also extremely important to draw, and they all need to be carefully planned and represented.
When it comes to drawing the face of Otter Sketch, you should start with a basic oval. Then, you should add a headband or some kind of facial hair. The ears should be relatively large, and there is no need to draw them too thin. Make sure you fill in the eyes completely, and add a narrow forehead band around the eyes, and also around the mouth.
Then, you should take a slightly smaller oval, and put it onto the head. The jaw should appear deep. Then, you should add some wrinkles to the jaw line. The eyes will look somewhat almond shaped, and the mouth will appear quite wide. You could also add some eyebrows.
Next, you should move on to the nose. To do this, you should use a broad flat nose, and fill it in using a medium brown color. The nose should not be too narrow or pointed, and it should be shaped somewhat like an overlapping cone. Next, you should draw the lips, and you can do this by using either light or dark pink shades.
After you have finished with the upper body, you should move on to the lower body. To do this, you should use the same broad shape for the head as for the head. Then, you should draw two horizontal bands around the waist. The legs should be outlined in light blue.
Also Read: The Advantages of Sketches of Shoes
Also Follow: Jiasart on YouTube
[…] Also Read: Some Basic Drawing Tips For The Otter Sketch […]