
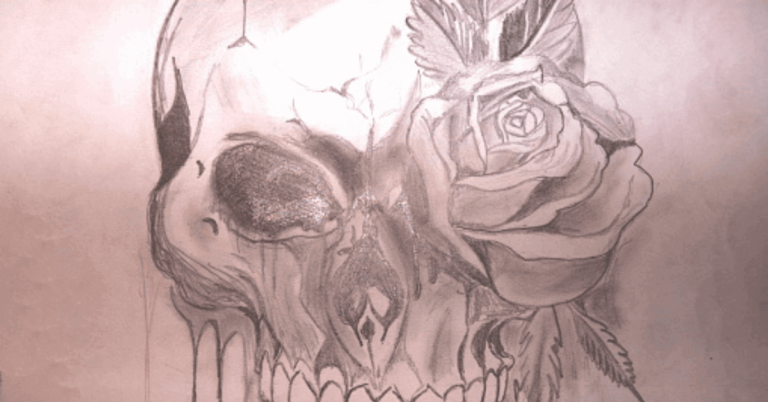
The skull and rose drawing is a popular technique that has been around for a long time. Learning to draw with pencils is the first step to take when you begin to learn how to do these types of drawings. If you are just starting out learning to draw, I would highly recommend that you focus on practicing basic shapes first. Once you have mastered the basic shapes, you can move onto more advanced topics like portraits. Learn more about them by following the links below.
To get started with this type of drawing you should find a few good tutorials on the web that focus on skulls and rose skulls specifically. You should be able to find several examples and even some step by step instructions that you can follow. Look for high quality art that you can download for free and use as a guide to practice your new skills. Look for popular royalty free stock graphics, easy skull drawings and illustrations, as well as vectors from the internet that you can edit with your favorite software.
Once you have an idea of what you want to do, create a sketch on paper by tracing the shape of your subject using a pencil. Next, choose a medium to use for the drawing, whether it be a pen or pencil, markers or colored pencils. I prefer colored pencils because they are easier to blend. Find free drawing tutorials on the internet that focus on roses and skulls. Then look for high quality art that you can download for free and use as a guide to practice your new skills on paper.
After you have created your first few easy pencil sketches, go back and erase the unwanted areas of the picture. Use your favorite soft bristle pen to create a very light line over the unwanted areas of your drawing. Now, add in your color of choice and start working from the center of your head. Remember to only use dark shades as your outline color, since you don’t want to create shadows in your drawing.
Create your high-shade shapes out of the center of your head and then blur those areas with your highlighter marker. You can create scallops, rotisserie mushrooms and other fun shapes out of your drawing by using your pencil sketch tool. For best results, try to create the scallop from a high-level perspective as if it is looking down on a baby. This is the best way to get started with rose pencil sketches.
For the final touches of your rose skull drawing, use a highlighter colored pencil for the outer edges of your body and a medium colored pencil for the center of your skull. For an extra crisp look, add in a small amount of black. For an old world look, add in some gold accents using a silver pencil. If you are using oil-based liners, try a brown or black ink liner.
You are now ready to sit down at your computer and begin your own collection of beautiful rose and skull drawings that you can print out and save to share with your friends and family. Remember to only use ink that is water based for your pencil sketches. The ink will dry much faster and stay sharp longer when using water based inks.
Are you feeling inspired to get started with your own tattoo uploaded to a social networking website? Search no more because I have done all of the work for you! Check out my site today and learn how to turn your sketching skills into beautiful tattoo designs that are sure to please everyone you give them to. I am not just talking about free tattoo patterns. You can pay me a small fee for access to a huge database full of high quality, professionally designed tattoo sketches.
[…] Also Read: Rose Skull Drawing and Tattoo Posted […]