
To learn how to draw a rose step by step, you must first learn the basics of composition and form. A good form is a three-dimensional quality of your drawing that makes it look realistic. The best way to achieve this is to think about a specific part of a flower as you draw it. For instance, you should follow the curves of the petals or the roundness of the stem. Then, you should trace the shape with circular strokes. This will give the illusion of curvature.
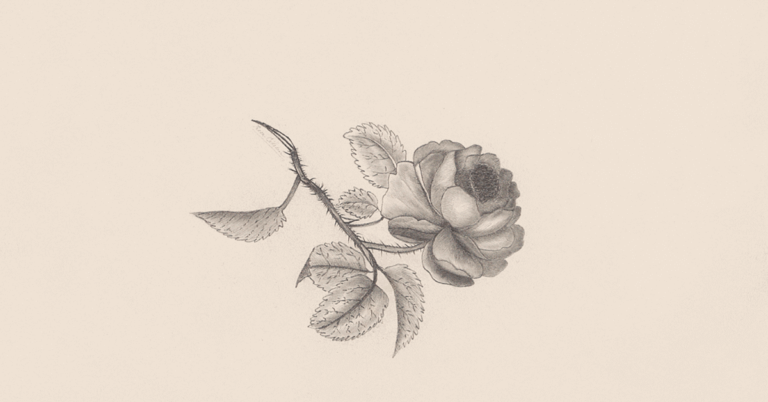
To start drawing a rose, you should sketch the outline of the flower. The shape of the rose is irregular, so you must approach it with a specific method. For example, you should start with a general shape sketch, then work up to the specifics. If you wish to draw the rose in three dimensions, you should draw the petals separately. You should draw at least three to five petals per layer.
The outer shape of the flower should be outlined first. Next, you need to draw the middle portion of the rose. Once you have completed the outline drawing, you can add the petals. Remember to clean up the edges of the inner petals. Finally, you need to complete the drawing with the outline of the entire rose. It should look like a beautiful flower. If you are not careful, the drawing of the rose may not turn out as you’d like.
The center of how to draw a rose step by step, it should be an oval shape with several lines extending out from the center. The outer edges of the rose should also have curved lines. Lastly, the petals should be drawn by going around in a circle, with one curved line pointing toward the center. Depending on how you prefer to draw the rose, you can draw three to five petals per layer. The final step of drawing a beautiful rose is adding the shadow to it.
Once you have drawn the inner part of how to draw a rose step by step, it’s time to draw the petal. The petals should be smaller than the center. It is important to remember that a rose’s outer part should be the core of the flower, so you should make sure that the petals are proportioned correctly. Once you have completed the entire outline, you can now draw the rose’s petals. You will need to erase the skeleton lines.
The petals of a rose are a bit tricky to draw, so it is important to choose the inner shape first. This will help you to properly proportion the petals. If you fail to choose the correct shape, the petals will not be perfect. Once you’ve finished the outer part of the rose, you can start on the inside. The inside part of the flower is the core. If you want to draw a more complex flower, you can trace the skeleton lines for the rose.
When you’re done with the petals, you can add the rest of the flower. After the stem connector, you can start adding the petals. After the stem is complete, you can add the center of the rose, and the base. You can then continue to sketch out the petals in various directions. If you’re a beginner, try to draw the rose with one color to avoid having the petals appear in all different shades.
The petals of a rose can be tricky to draw. To create a perfect rose, you must first select the inner shape of the flower. This will help you create a perfect proportion. During this process, you’ll be able to pick the right size for the petals. In the end, you’ll have a rose that looks beautiful and is free of mistakes. With a little practice, you’ll have no trouble drawing a real rose.
Once you’ve decided on the shape of your how to draw a rose step by step, you’ll need to add the petals to it. The center of a rose should be small and oval-shaped. It should have a couple of lines around it to define the outer and middle. It should have several curved lines. The outer petals and the inner ones should be placed on the inside of the flower. Once you’ve completed this, the flower should have a perfect shape.